How to Convert DTS to AC3 with Switch Audio Converter
Quickly convert DTS to AC3 and other formats. DTS files are not supported by all applications, and so some may wish to convert their DTS files to AC3 format or another format supported by their program or other use cases. This demonstration will teach you how to convert your DTS files to AC3 so that you can continue your project with ease.
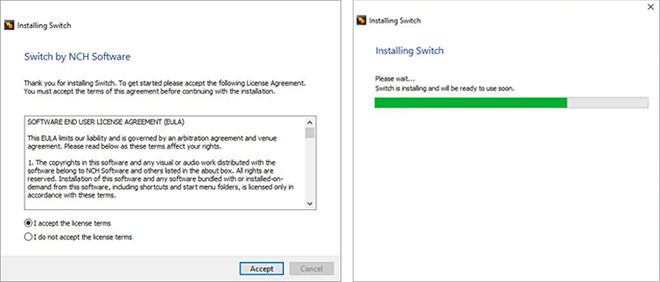
1. Download Switch Audio Converter
Download
Switch Audio Converter. Follow the installation instructions and then launch/open the program on your computer after you have finished installing it.
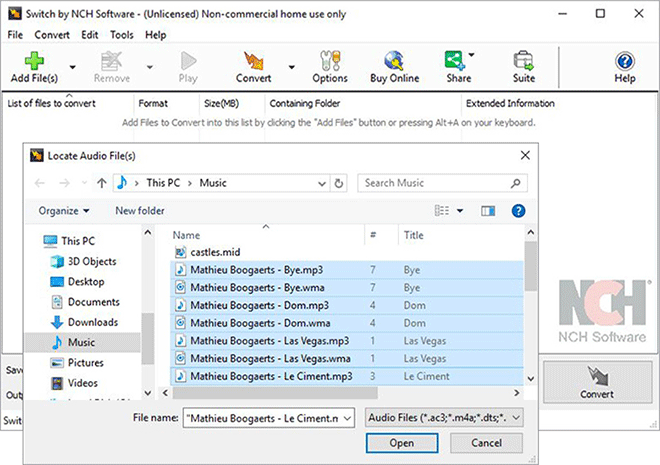
2. Import DTS Files into the Program
Click on the green Add File(s) button, located in the main toolbar to open the file finder window. Find and select the DTS files on your computer and click Open to bring them into Switch to convert them to the AC3 file format. You can also drag and drop your DTS files directly into the program to convert them as well.
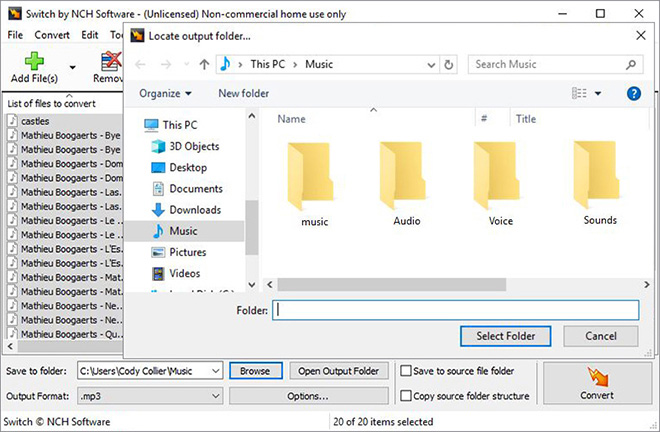
3. Choose an Output Folder
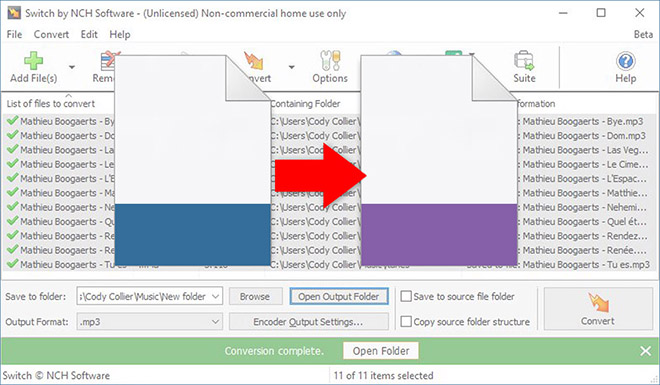
Set the output destination where you would like your converted files to go after they have been converted from DTS to AC3 format. Click on the Save to Folder or Output Folder drop-down arrow to view the drop-down menu and select a folder from this list. Click on the Browse button to the right of the arrow to open the file finder window and select a folder on your computer this way.
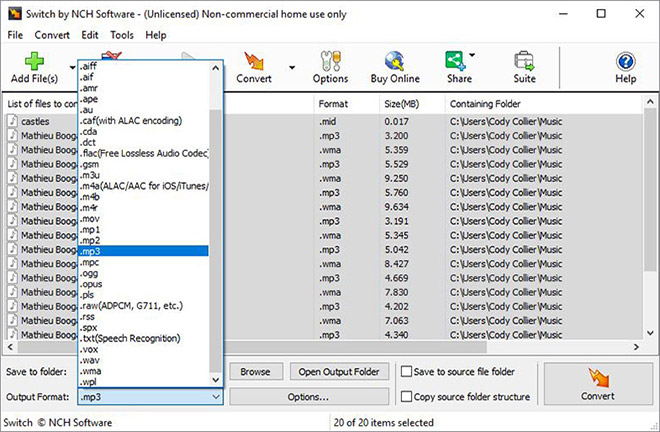
4. Set the Output Format
Click on the drop-down arrow on the left-hand side of the program next to the words "Output Format" to view the list of available audio file formats. To convert your DTS files to AC3 files, simply select the option from this list that says, "AC3." All conversions performed will now be to the AC3 audio file format.
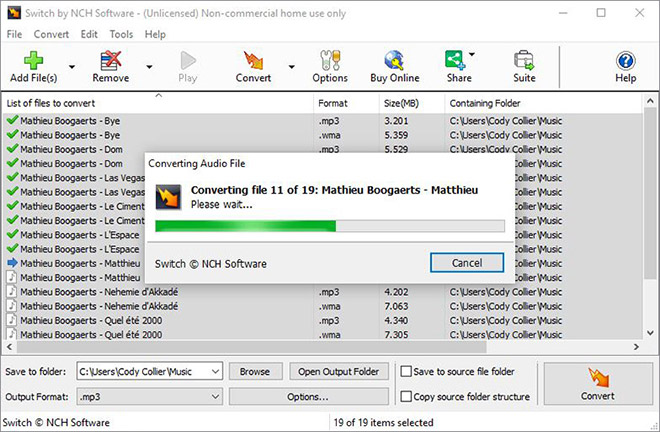
5. Convert DTS to AC3
Click on one of the Convert buttons, located in the bottom right-hand corner of the program or in the main toolbar. This will start the conversion process. You can select only one file to convert them one at a time or you can select all of them to perform easy batch AC3 conversions.
Like what you see? |  |